Thursday, November 19, 2015

Number trees

Recently my children and I made a number line with trees.  It was a great project and has been hanging on our wall since.  They use it to reference their numbers and have used it to learn to count down from 10-1.

I started by using a leaf stamp that I had from my old stampin' up days and made a whole bunch of them on white computer papers.

Then I had the kids sort out the marker colors that they thought best represented fall leaf colors.  Next, we colored our leaves with the markers that we picked out.  My oldest colored most of his leaves the same color and he is a very speedy colorer.  My daughter spent all morning coloring each leaf a different color and filling them all in.  I did a few extras as well so we would have enough.

Then came the cutting.  I tried having my four year old cut out the individual leaves but they were too small for him to go around.  Instead I made a grid of squares and he cut along all the straight lines until all the leaves were in their own square.  I then finished by cutting out all the individual leaves.


The next day we got out some light brown card stock and cut it into four pieces each until we had ten total.  I again had the kids pick out the colors that they thought most accurately represented tree bark and I drew a few tree trunks.  I did them with pencil first, then went over them with the markers.  I made the first few trees light with branches and by the eighth tree they were thick trees with numerous branches.

Then the fun began.  The kids loved selecting the cards that they wanted to do and picking out the right number of leaves for each card.  Then they got their glue sticks and glued the leaves on.  Finally I hung the finished cards from a clothesline under a window in our dining room.


 Here are a few pictures I just took of the finished product.  It is night and dark in the dining room so I apologize for the blurry dingy pictures but they look great in the morning sun that comes in the window.


Monday, November 16, 2015

Nature Drawings

Recently we've found a lovely park near our home that has a large variety of trees with many interesting nuts and leaves.  We've gone on some long winding walks there lately and collected a few items each time.  We made a beautiful centerpiece with them on a plate and a nature pumpkin.  But we also have enjoyed drawing them.  Eventually when my kids get a little bit older we will keep a journal for things like this but for now since they are little and I don't need the clutter around we just drew on a paper and then displayed it for a few days.  Then I descretely threw them out a few days later. Here are some pictures of the collection.


Here are a few up close pictures of their drawings next to the collected items.                                                                                                                      


They were hard at work on this project for a long while and they all really seemed to enjoy the walk, the collecting, and the creative process of drawing the items we picked.  It certainly gave us a great appreciation for the natural world around us and the variety of things that can be found right in our own back yard.

Get out and enjoy the world around you with your kids!  You'll be happy you did.

Saturday, November 14, 2015

Nature Pumpkin

Didn't want to carve a pumpkin this year with the kids so I decided to do a hot glue nature pumpkin instead.

Step one: Take a nature walk with your kids.  We went to this local park where they planted a whole bunch of different trees and there are a large variety of nuts and colored leaves.

Step two: Collect, and if you want, learn about the different types of trees your leaves and nuts have come from.  We did some research online and with a tree book to identify most of our trees.  I found out something I didn't know, that is that buckeyes (a type of chestnut) are not edible for humans or most animals.

Step three: sort all of your collection and have your kids come up with what would look best where. (eyes, nose, hair etc).

Step four: Create your pumpkin by hot gluing your pieces on.

Step five: enjoy!!!


Monday, April 13, 2015

How to attach a duvet cover to your comforter with NO SEWING

Today I took on a much needed, long overdue, super easier than I thought, and too long complained about project.  My husband was getting frustrated with me when I would tell him he was stealing all the blankets when really we both were covered, my side just didn't have any downy goodness inside of it.  We have the most cushion-y, feathery, airiest, like sleeping wrapped up in a cloud, comforter in the world.  We also have a solid and stylish comforter cover from IKEA the land of everything I love and can afford!  Unfortunately, either because in Sweden their duvets magically don't get all wadded up in the corner of their cover, or because they are saving money because it is IKEA after all, the cover didn't come with little loops or little ties in the corner.  Neither did my heavenly (not from IKEA, but still awesome) comforter.  So, my dilemma for many months has been do I take an hour out of my afternoon to sew on loops and ties to both my comforter and my cover or just continue complaining about the bunchy mess that is our feathery soft bed!?

TODAY: The solution. No sew, took me ten minutes, so far it has worked and I am in LOVE!

One set of sticky, no-sew Velcro dug out of my stash!


Stuck the hook part (the part you don't want sticking to everything in the wash) to the corners of my comforter.


 See how scratchy that is?  You don't want that getting stuck to all of your sheets in the wash!


 Get distracted by a cute boy falling off the bed!


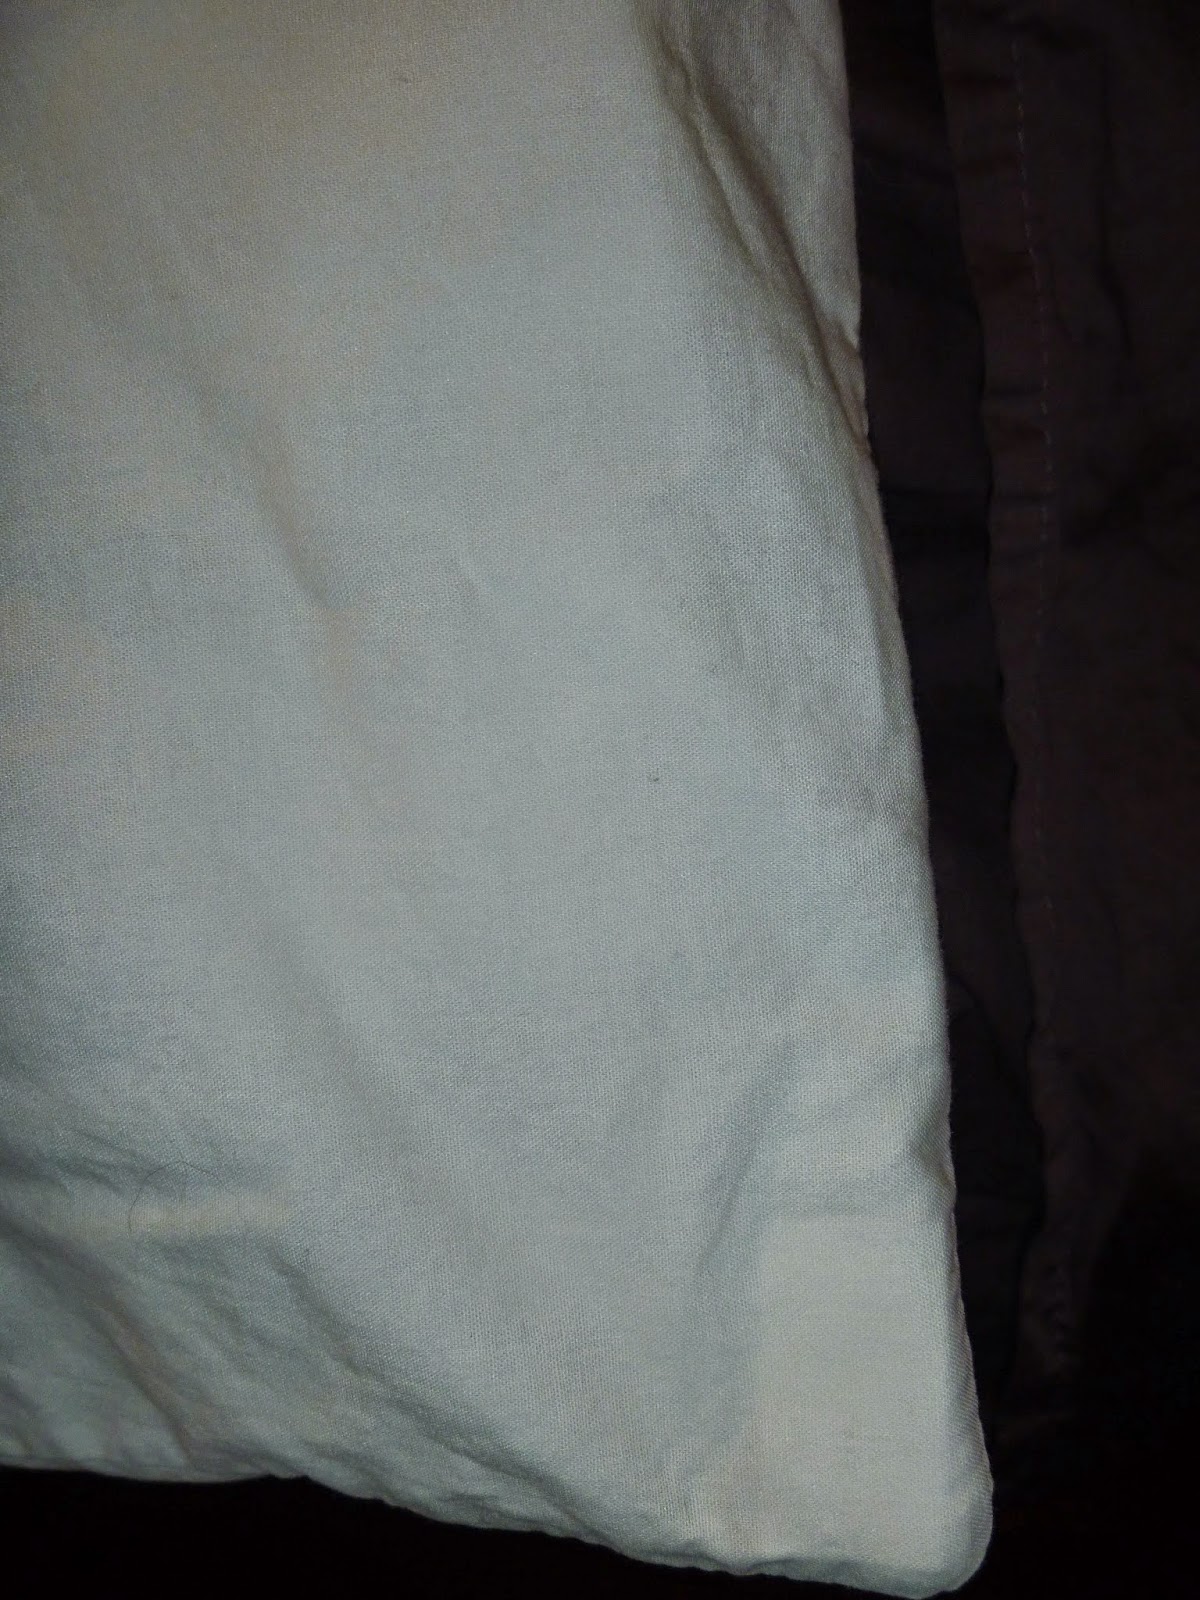
Hard to tell what is going on here because this part of my cover also happens to be white but the under part with the previously mentioned sticky Velcro is on the comforter. The top is the duvet COVER with the soft part of the Velcro attached.  I did this on all FOUR corners on both sides of the comforter (topside and underside) and all four corners of the cover to match. That is 8 hook Velcro tabs on the duvet and 8 loop Velcro tabs on the duvet cover.


This one is easier to see what is going on.  Grey is cover. White is comforter.  Put the soft tabs on the part that is going to get washed (the cover) the scratchy tabs on the part that will always remain on the bed (feather part).


 Now stick your comforter down inside of the cover so that all four corners match up. (Don't try to take a junky picture of it because as you can see... nothing but a fabric mess going on in this shot!)


There's the flash.  See, corner inside cover!


This is a look at is when it is first going together so you can see all tabs in one corner.


 Then you just flip the other tab over and secure it on smoothly and you should at that point be right side out.  Unless of course you did something horribly wrong in which case I would suggest a strong cup of coffee or a nap.  Leave the project for a day when you are feeling well rested under your downy goodness and are up for a little mind bending.  If you are doing this with little kids underfoot... good luck all together. Your ten minute super easy project just because 45 minutes of reigning in bed jumpers, blanket tangle uppers, smooching sweet baby toes kinda fun. But afterward you can rest assured that you will have a comforter that won't wad up in the corners, will always be good for reading books and snuggling babies in the morning and is basically the happiest place in your house.  That is if all the kids are sleeping!


 What nice corners you have. All the better for covering you with my dear!


Seriously, at this point I should have taken a shot of the whole lovely bed but WRINKLES, my goodness, wrinkles... next time I'll iron it then blog about it.  Ha ha, yeah right!

CUTE huh!!!!

Wednesday, February 18, 2015

snowpacalypse 2015

So we don't live in Boston and we aren't living with 100 inches of snow but when we have winter records all week it is pretty epic for Louisville.  We had the most snow in one storm in the last ten years here on Monday. 8 1/2 inches in one day!  It shut down the city for three days!  Monday, Tuesday and Wednesday there has been no school.  Last night we got two more inches and spent more of our morning shoveling.  The kids have loved it.  I am loving having my husband home for a few extra days.  I am not loving the mess that our house has accumulated with everybody cooped up in it.  Here are some pictures of our adventures over the last few days!  Looks like with the sub zero temps in store for Thursday and Friday we may be out of school all week.

Baby boy wishing he was out with the big ones and Daddy!

Half way into the snow. Got about 4-5 more inches after this in the last few days.

Helping Daddy shovel.

Waving.

Emma trying to shovel with a snow scraper!

Not so sad that he is in the house anymore. Because he loves his mommy!

Day Two of snow.

After his 5th trip out in two days! Note the towels on the floor and the drying rack for winter clothes in the background!

The nice thing about snow days. Homemade bread!

YUM!!!!

Monday, January 5, 2015

Sticker Letters and Sunshine

The sun is shining again here in Louisville.  It seems for us lately that if the sun is shining it is in the 20's.  If the rain is pouring down it is in the 60's.  Too bad that the sun and the temp can't get together for a day.  60 and sunny or 20 with snow, we'll take either!

I was working on my "Drop-In" plans for my MS youth group this week and came across this video from Kid President!  Love it! Our theme this week is "New Year, New You: Be Awesome!" I thought this video fit the bill pretty well. Plus, who doesn't love Kid President?


News on the home front is all about learning.

Today we did both finger painting and some letter work.
We have done some other letter work, on M, O, E, P and C but today we did a picture of trusty old A!

I made an outline of a capital A and lower case a on a piece of construction paper and had the kids go to town covering them with stickers.  I have seen some projects where people use bingo markers to fill in the space of a letter and I thought hmm we have a TON of tiny stickers, why not? Our large sticker collection is largely supplemented by address labels with the address part cut off.  When you cut the address part off you are left with tiny little square stickers perfect for this type of project.

Here's what we did.


Happy Crafting and Happy Learning this first week of the new year.
Now some random pictures of cute babies and cats who like both sunshine and crafts!