Today I took on a much needed, long overdue, super easier than I thought, and too long complained about project. My husband was getting frustrated with me when I would tell him he was stealing all the blankets when really we both were covered, my side just didn't have any downy goodness inside of it. We have the most cushion-y, feathery, airiest, like sleeping wrapped up in a cloud, comforter in the world. We also have a solid and stylish comforter cover from IKEA the land of everything I love and can afford! Unfortunately, either because in Sweden their duvets magically don't get all wadded up in the corner of their cover, or because they are saving money because it is IKEA after all, the cover didn't come with little loops or little ties in the corner. Neither did my heavenly (not from IKEA, but still awesome) comforter. So, my dilemma for many months has been do I take an hour out of my afternoon to sew on loops and ties to both my comforter and my cover or just continue complaining about the bunchy mess that is our feathery soft bed!?
TODAY: The solution. No sew, took me ten minutes, so far it has worked and I am in LOVE!
One set of sticky, no-sew Velcro dug out of my stash!
Stuck the hook part (the part you don't want sticking to everything in the wash) to the corners of my comforter.
See how scratchy that is? You don't want that getting stuck to all of your sheets in the wash!
Get distracted by a cute boy falling off the bed!
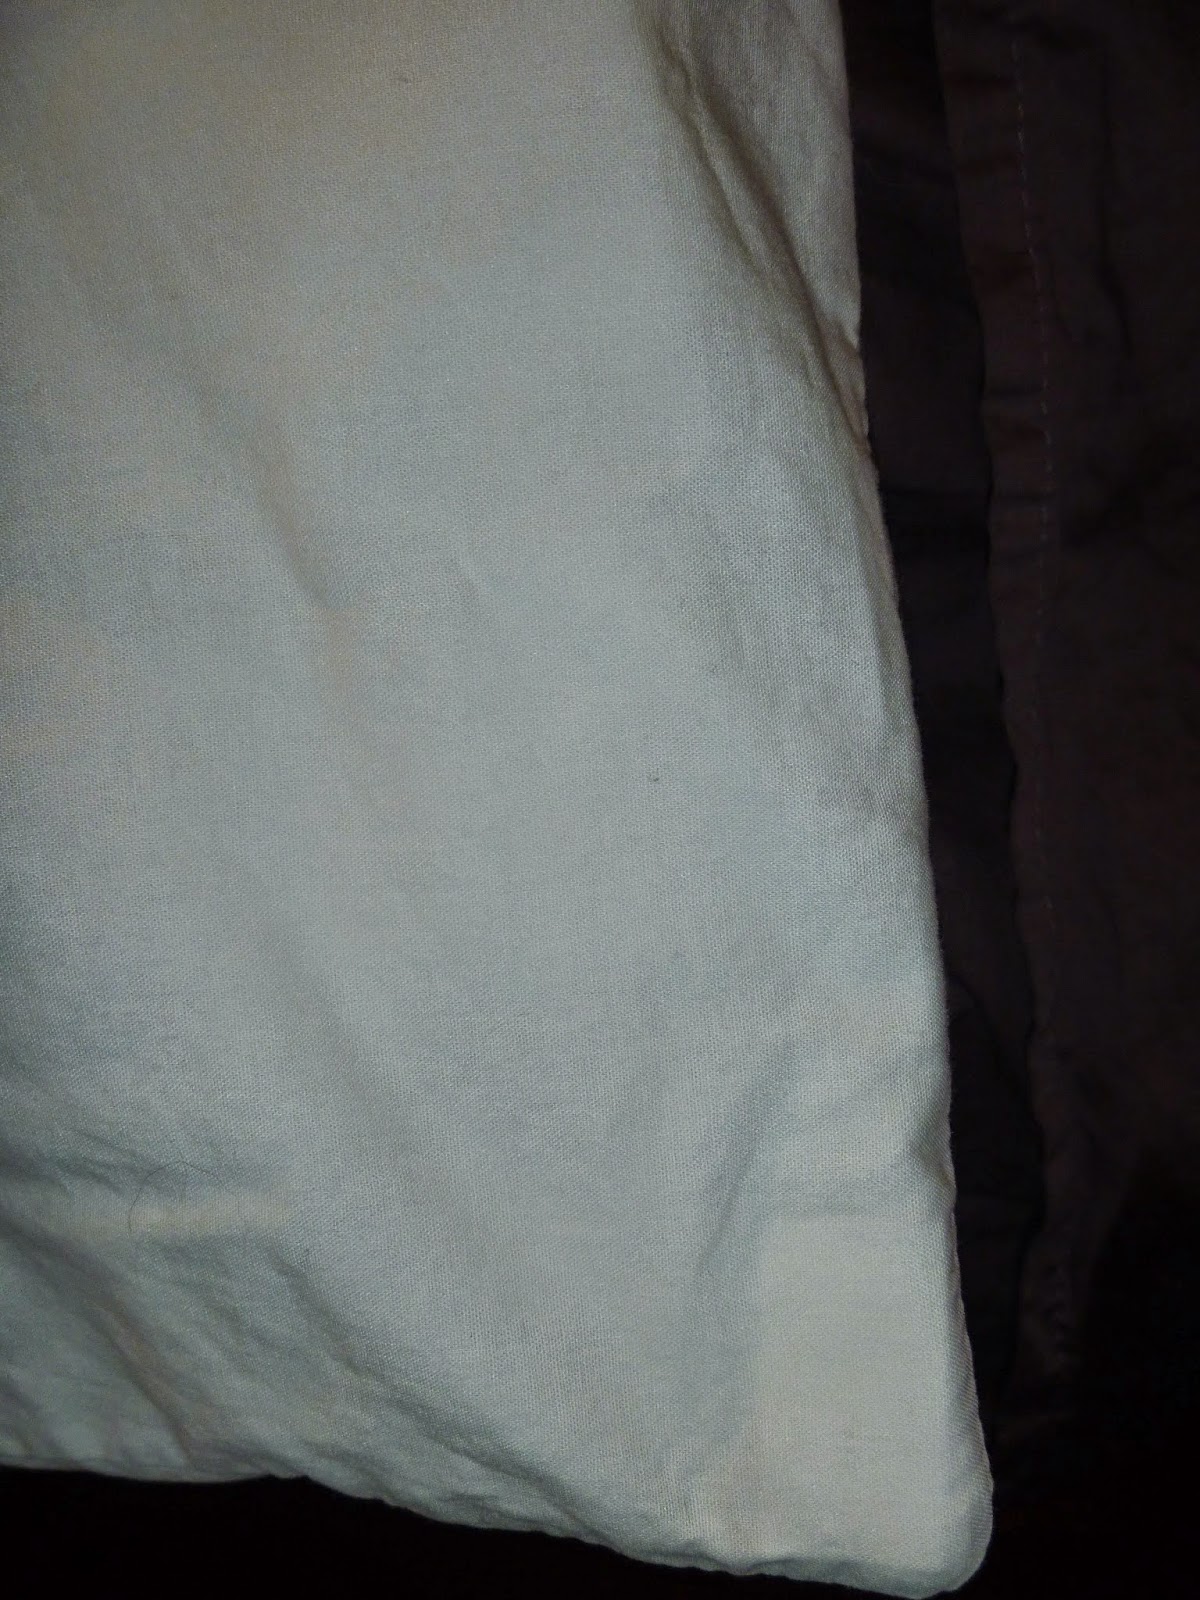
Hard to tell what is going on here because this part of my cover also happens to be white but the under part with the previously mentioned sticky Velcro is on the comforter. The top is the duvet COVER with the soft part of the Velcro attached. I did this on all FOUR corners on both sides of the comforter (topside and underside) and all four corners of the cover to match. That is 8 hook Velcro tabs on the duvet and 8 loop Velcro tabs on the duvet cover.
This one is easier to see what is going on. Grey is cover. White is comforter. Put the soft tabs on the part that is going to get washed (the cover) the scratchy tabs on the part that will always remain on the bed (feather part).
Now stick your comforter down inside of the cover so that all four corners match up. (Don't try to take a junky picture of it because as you can see... nothing but a fabric mess going on in this shot!)
There's the flash. See, corner inside cover!
This is a look at is when it is first going together so you can see all tabs in one corner.
Then you just flip the other tab over and secure it on smoothly and you should at that point be right side out. Unless of course you did something horribly wrong in which case I would suggest a strong cup of coffee or a nap. Leave the project for a day when you are feeling well rested under your downy goodness and are up for a little mind bending. If you are doing this with little kids underfoot... good luck all together. Your ten minute super easy project just because 45 minutes of reigning in bed jumpers, blanket tangle uppers, smooching sweet baby toes kinda fun. But afterward you can rest assured that you will have a comforter that won't wad up in the corners, will always be good for reading books and snuggling babies in the morning and is basically the happiest place in your house. That is if all the kids are sleeping!
What nice corners you have. All the better for covering you with my dear!
Seriously, at this point I should have taken a shot of the whole lovely bed but WRINKLES, my goodness, wrinkles... next time I'll iron it then blog about it. Ha ha, yeah right!
CUTE huh!!!!


No comments:
Post a Comment